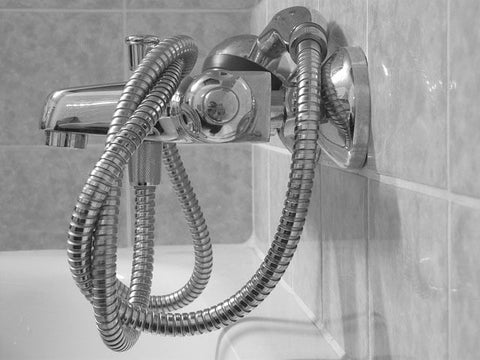
If your tub and shower faucet looks dated, scratched, or is simply damaged, replacing it with a new tub and shower faucet trim is a suitable solution. Installing a new Trim will give your shower hardware an instant update. Besides, replacing a trim kit is not a complicated process that would require plumbing work; instead, it is a do-it-yourself work with some careful training and effort. If you go about it the correct way, replacing your shower system can be an inexpensive and easy task and will save you the cost of hiring a plumber. This article presents step-by-step guidelines on how you can replace your shower hardware.
Tools
- Allen wrench set
- Teflon tape
- Regular screwdriver
- Phillips screwdriver
- adjustable wrench
- utility knife for cutting caulk
Here are the steps of how you can replace your shower system:
- The first step is to determine the type of valve, its make, and the manufacturer. Shower hardware manufacturers make different types of valves with varying styles for similar shower faucets to match your needs. Some manufacturers make only temperature controls, while others combine temperature controls and flow adjustment into one handle. Other manufacturers separate the two. As such, you need to evaluate the type of valve that would suit your needs before purchasing one. It would also help if you determined beforehand the make of tub spout that your existing shower system has.
- Remove any caulking on the wall end of the spout with a razor or a putty knife, after which you locate the setscrew underneath the spout. Determine which tool will remove the screw without much hassle. You may use a flathead screwdriver or a small Philips head. Unscrew the nut in a clockwise direction until it is loose. Once it is free, pull the spout out away from the wall.

- Check to ensure that the pipe from the bathroom wall is the correct size. Refer to the manufacturer’s instructions before purchasing and installing to make sure that you have the correct length of the tub spout. If the pipe is relatively shorter than the minimum length, you need an adapter to fit the new spout. If It is longer, cut the pipe slightly. Use sandpaper to make the pipe coming from the wall smooth to remove the rough spots or the burrs. However, if you purchase the spout that matches your existing shower hardware, the installation would be much easier, and you would not have to struggle to fix the plumbing.
- Ensure that your new tub spout has the same size and length as the existing spout to avoid using an adapter or adjusting the pipes. If your tub spouts have a FRONT-END thread, measure from the wall to the nipple to get the correct size. If the thread is WALL-END, your nipple should be 1/2” in length. Further, if your spout has a TELESCOPING thread, your nipple should be 1-3/8” in length. To preserve the threaded ends, loosen the union fittings connected to the supply lines to the tub spout. Leave the nipple attached to the shower faucet and remove it with the valve. If the existing faucet connects to a showerhead, remove the “shower riser” pipe. The “shower riser” pipe is not under much pressure, meaning it can be reconnected later on with a special coupler.
- To connect the new shower faucet, use a dresser coupling to connect the shower riser and apply Teflon sealant to the rubber seals and to the coupler’s threads. While installing the new shower hardware, it is best to follow the manufacturer’s instructions as each style is usually slightly different. Basically, the new faucet set goes back together, similar to how you pulled the existing one. Use a towel when tightening the shower arm to protect the finish on it.
- Run the water on your newly installed shower hardware and check for leaks. If you there is a leak, tighten the nuts.
- Caulk the faceplate and the tub spout to the wall to ensure that water does not leak in the wall assembly. If the water gets back to the wall assembly, it can result in its deterioration as well as mold growth.
If you read through the steps presented in this article, you will realize that indeed, it is a twenty-minute d0-it-yourself job. Replacing the shower system yourself will save you the cost of hiring a plumber. Besides, what is the harm in knowing your way around a toolbox!


